This is the sixth step of the onboarding journey. So far, you've configured your settings, imported your catalog, configured your contracts, imported your sales reports, and created your costs and advances. Now you are finally ready to process your first statement batch!
Statement Processing: How Does it Work?
When generating a statement batch, eddy.app processes successfully imported sales (i.e. sales that are not in error) that could be linked to published contracts and were reported within the specified statement processing period.
Costs and/or advances linked to contracts to which income could be matched for the specified period will be recouped against processed sales.
This detailed guide will lead you through the process to create your statement batch:
1. Prepare for statement processing
2. Process statements
3. Share statements with payees
4. Invoicing and payment
1. Prepare for Statement Processing
We strongly recommend double checking the following parameters to ensure that statements are processed accurately.
Close DRAFT statements
Make sure you have closed any draft statements from the previous period before running a new period.
Check Catalog
All relevant content (digital, physical, YouTube, merch) must be imported into your Catalog and linked to the relevant contract. Note that sales associated with content that isn't linked to a contract won't be included in statements.
Use the Linked to Contract filter to spot releases not linked to a contract.
Check Contracts
Contracts are the most critical parameter for statement processing, as statements are computed based on contract configuration.
The following parameters have a direct impact on statement calculations:
- Contract period: the start date is early enough to include relevant sales. The end date is left empty.
- Content: all relevant content is linked to the contract.
- Sales channels: contracts must have at least Digital (global) configured, and if relevant, Physical (global).
Relevant sales channel(s) must be configured in contracts for the corresponding sales to be included in statements. For example, if there are CD sales but no Physical (global) sales channel set up in the contract, these sales won't be accounted for.
Ensure you've added the artist's rate in the Royalty Rate field.
Check Sales
Next, check that you've imported all the relevant sales reports, that they are in Done status, and that all errors have been resolved.
In some cases, certain sales lines don't need to be included in statements (e.g. the track was taken down, is not part of your catalog anymore, etc.). In these cases, you can ignore these errors and move forward.
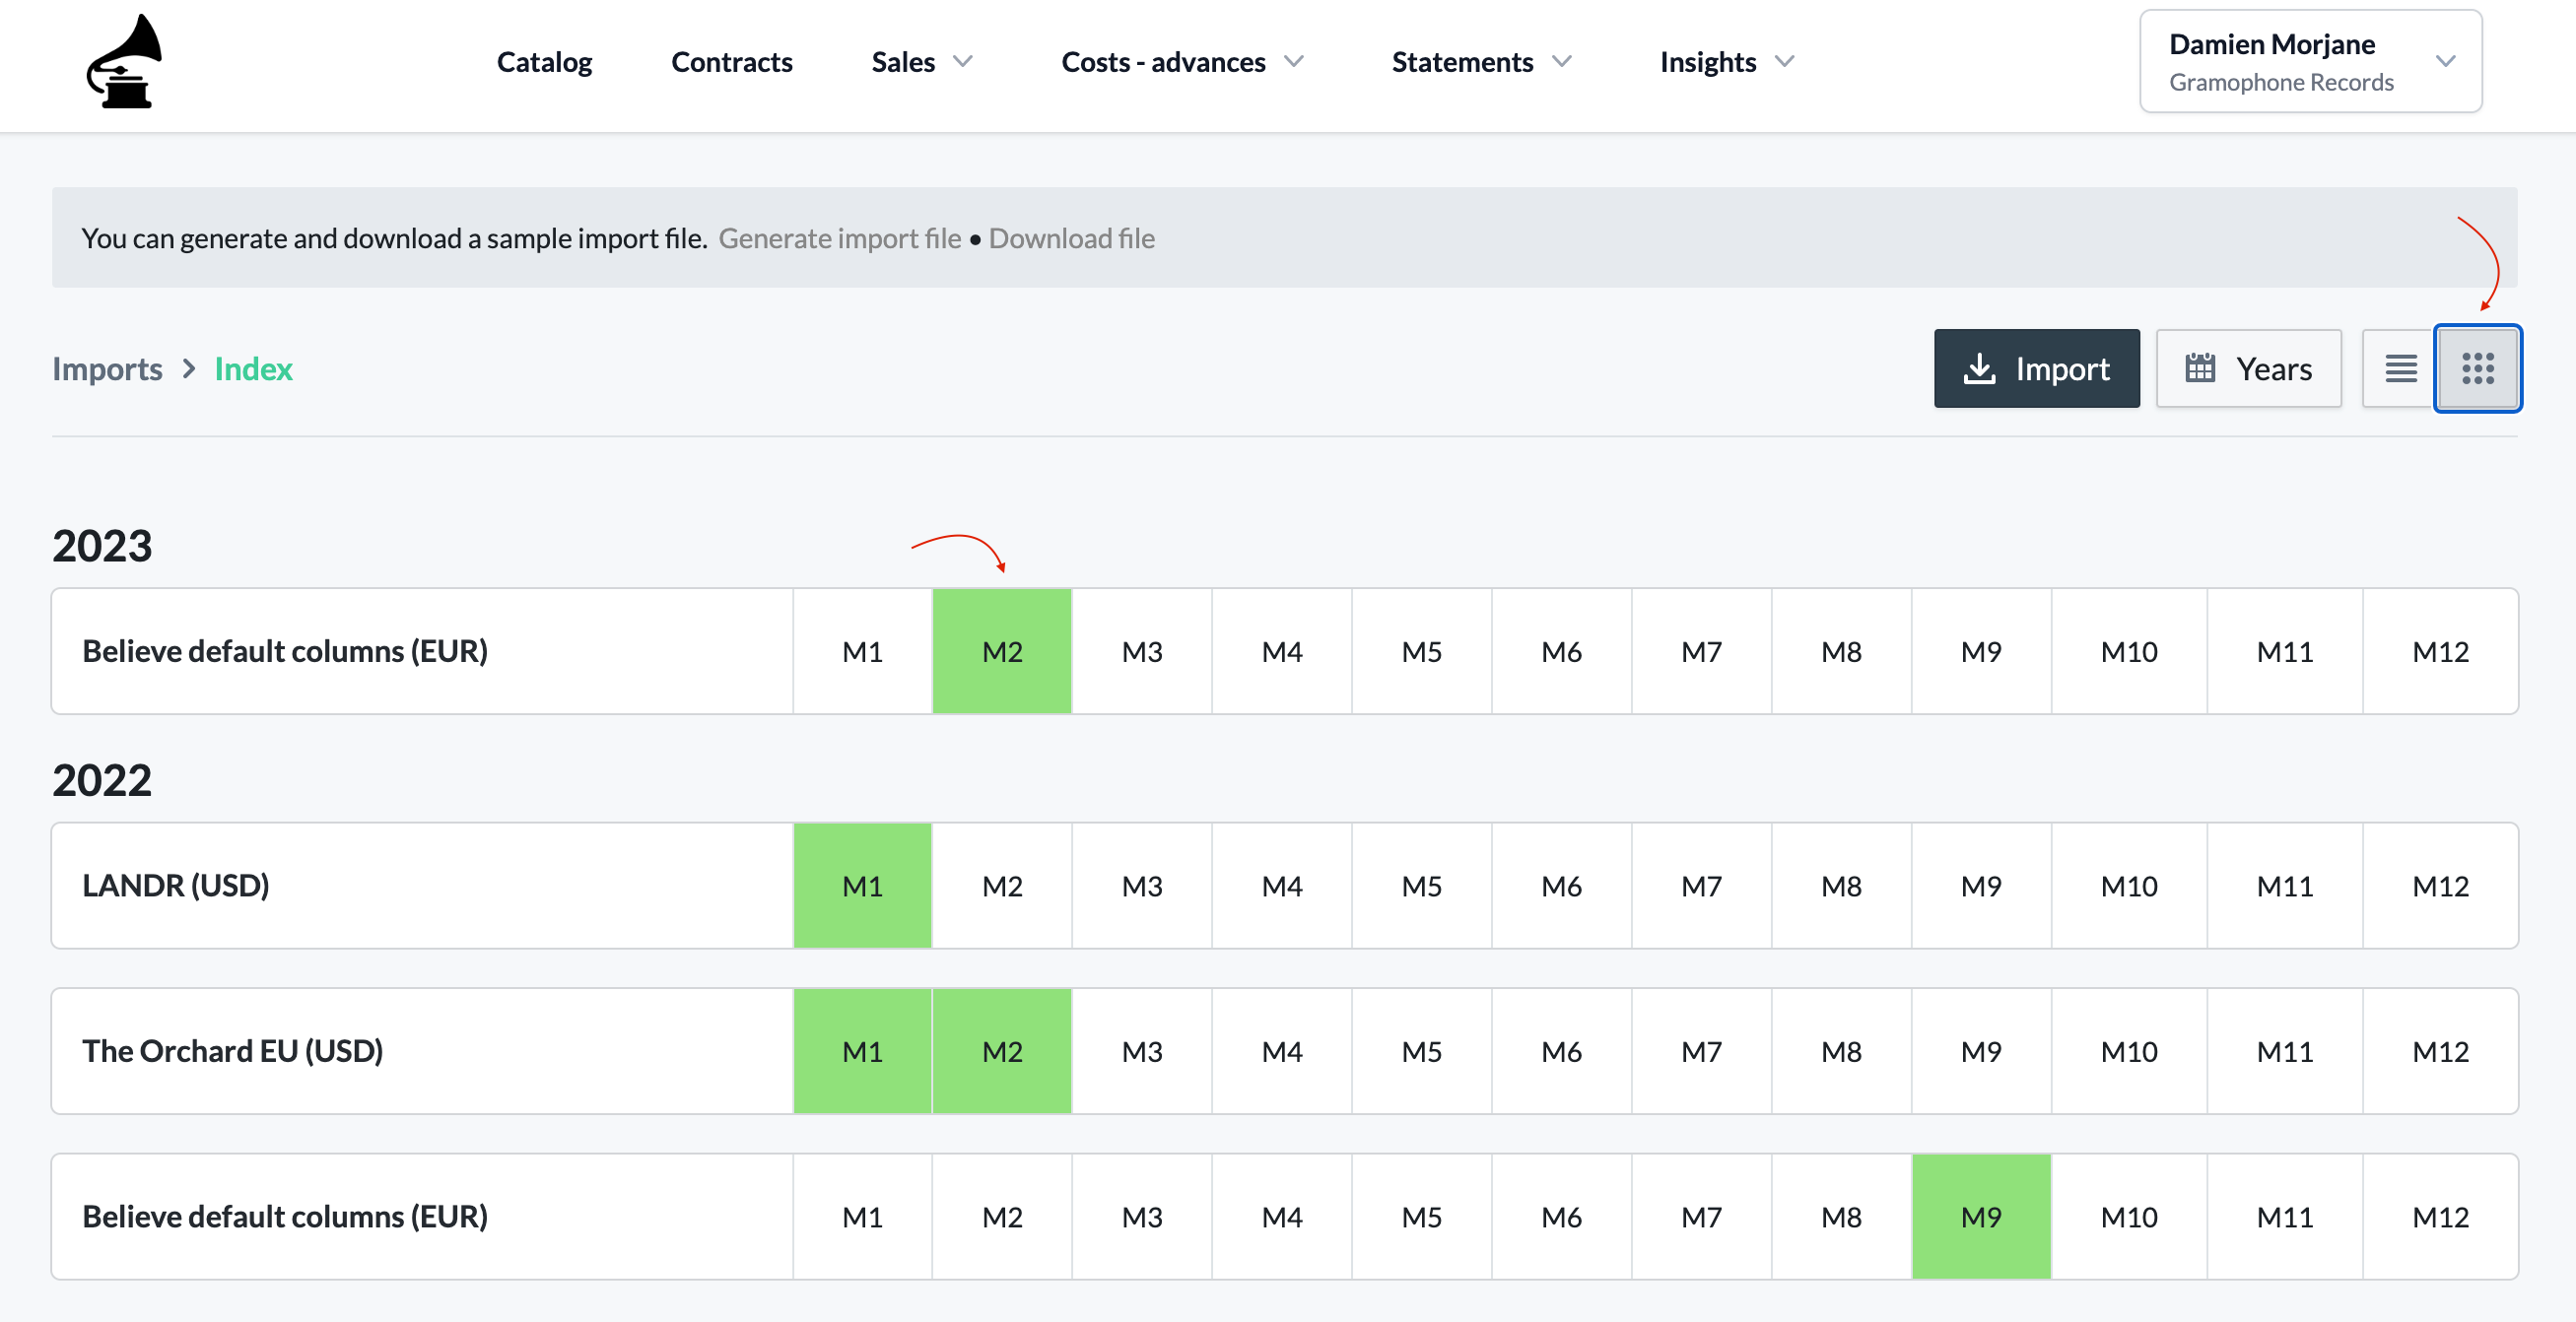
You can access the dedicated view to quickly check if sales are missing for a specific month or period.
Check Costs and Advances
Make sure that costs have been configured with the relevant recoupment base (shared cost vs. artist cost) and linked to the appropriate contract. Check that advances have been linked to the relevant payee.
Check Tax Deductions (Optional)
If applicable, tax deductions have been created in Settings. If you created country-based tax rules, make sure that the relevant payees have their address filled in their Payee Profile for the tax deduction to be applied to their statement.
2. Process Statements
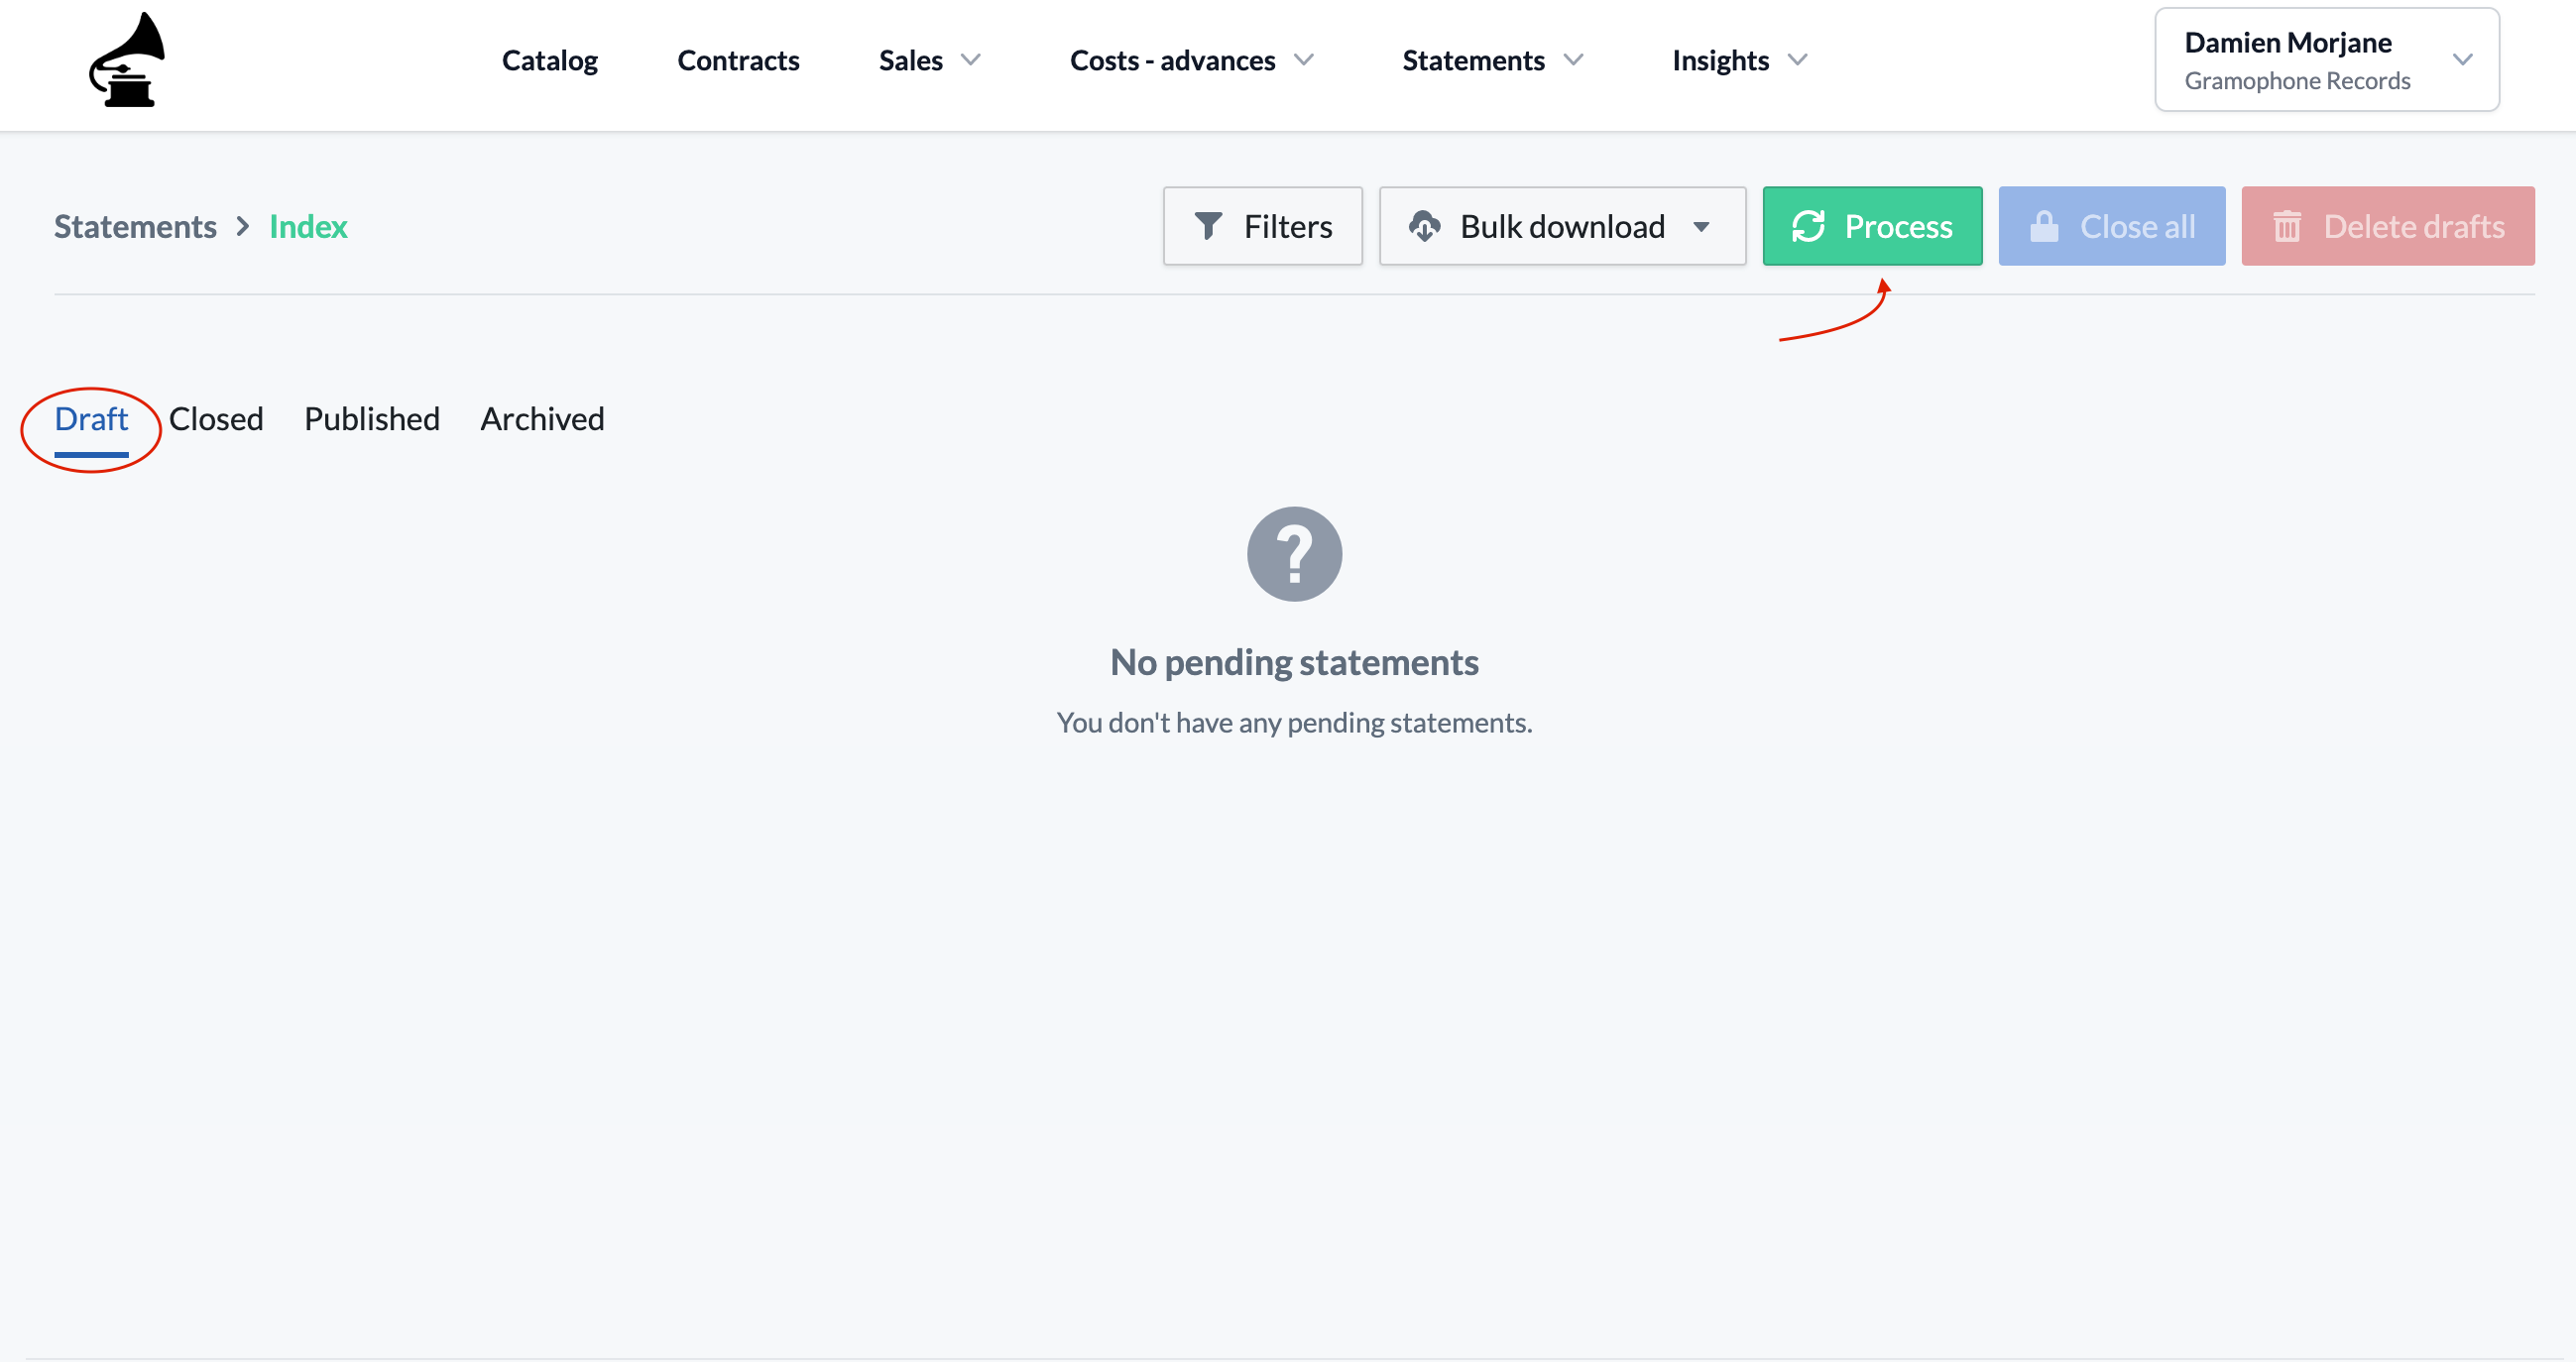
Now that you've made sure that everything is configured properly, it's time to process statements. Head to Statements > click the Process button.
Statement Reporting Period
Here, specify for which reporting period you wish to process statements.
Sales reported within the statement reporting period will be included in the statements. When a sales imports period lasts for several months, e.g. from January to April, only the start date is considered for the scoping.
Contract Scoping
By default, statements will be processed for all published contracts. However, you can choose to process statements for specific contracts or for contracts under a specific contract periodicity.
Scope by Contract Name
Simply search contracts by name. Statements will be processed for these contracts only.
When using the Cross-contract deductions feature, statements will be automatically processed for both target and recipient contracts.
Scope by Contract Periodicity
You can choose to scope statement processing based on the statement periodicity that you specified when configuring contracts (i.e. monthly, quarterly, bi-annually, annually).
Select the relevant periodicity from the dropdown bar to process statements for published contracts set to that periodicity.
Click Confirm
Once you've entered all the statement processing parameters, click Confirm and let eddy.app work its magic!
To ensure data integrity, you won't be able to delete sales or edit contracts while statements are processing.
Statement Statuses
During their lifecycle, statements go through several statuses. Each status comes with its own specificities. The following section gives an overview of each statement status.
Draft
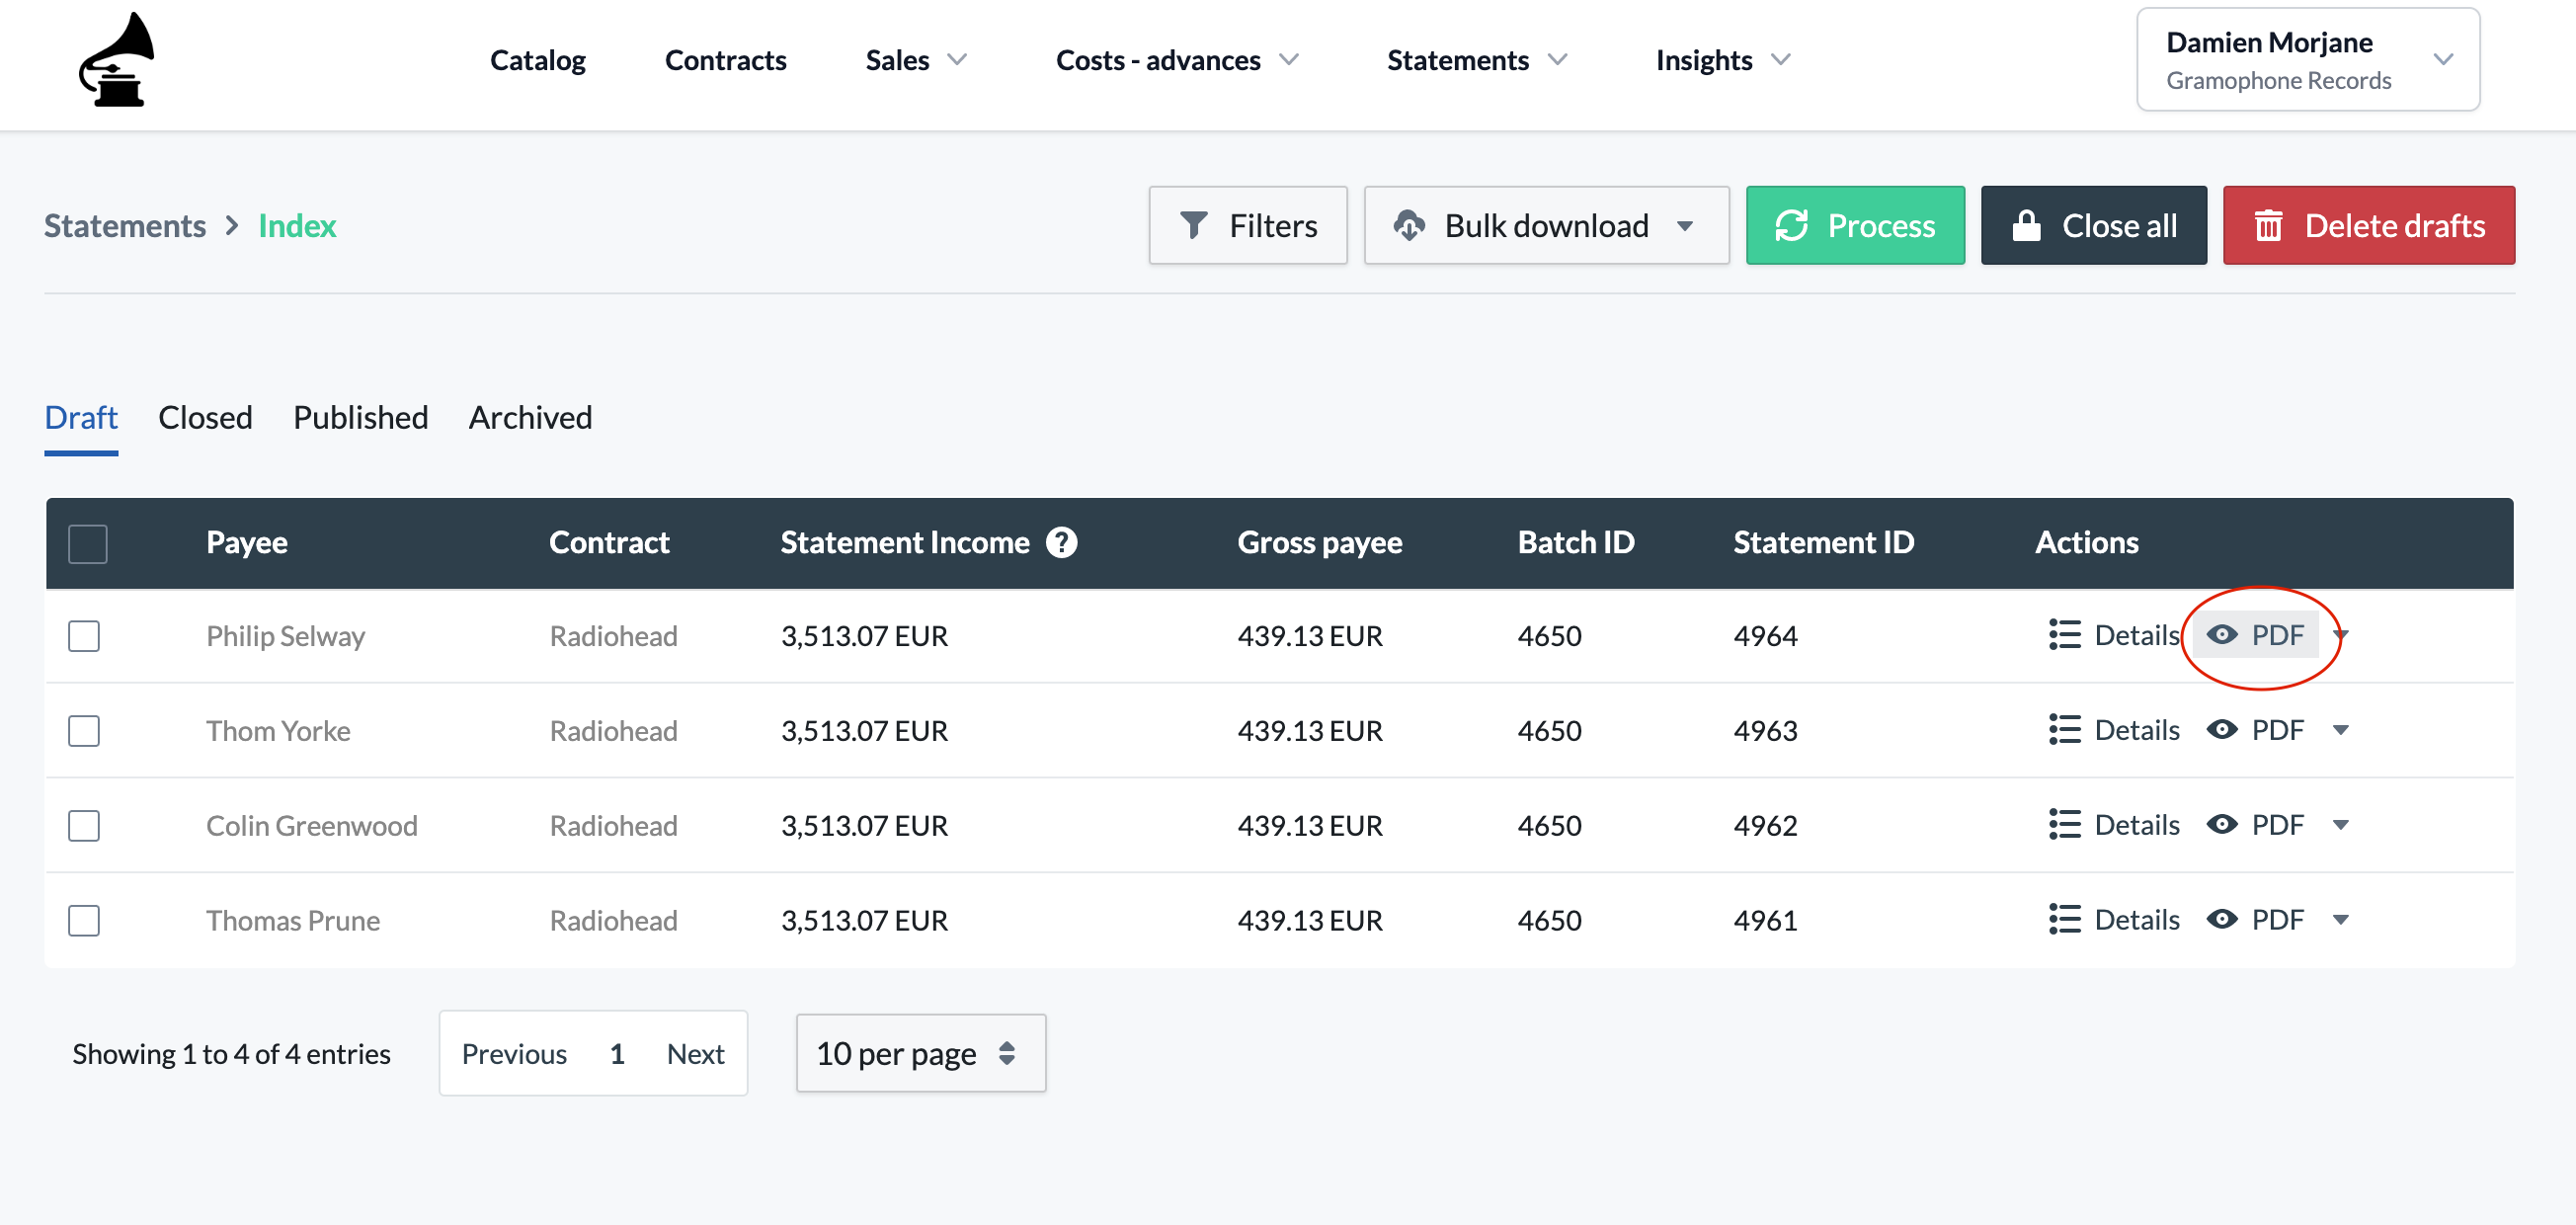
Once your batch is done processing, statements will appear in the Draft section of the Statements page.
Draft statements are not yet in their final state. You'll notice that the statement period does not yet appear, as drafts can be updated to include additional sales that were not included in the first batch in order to cover a broader period.
To include additional income in draft statements, simply re-process a new batch and your drafts will be updated.
You can view statements by clicking on the small eye symbol.
If your draft statements seem incorrect (e.g. these is revenue missing), we recommend checking our dedicated troubleshooting article.
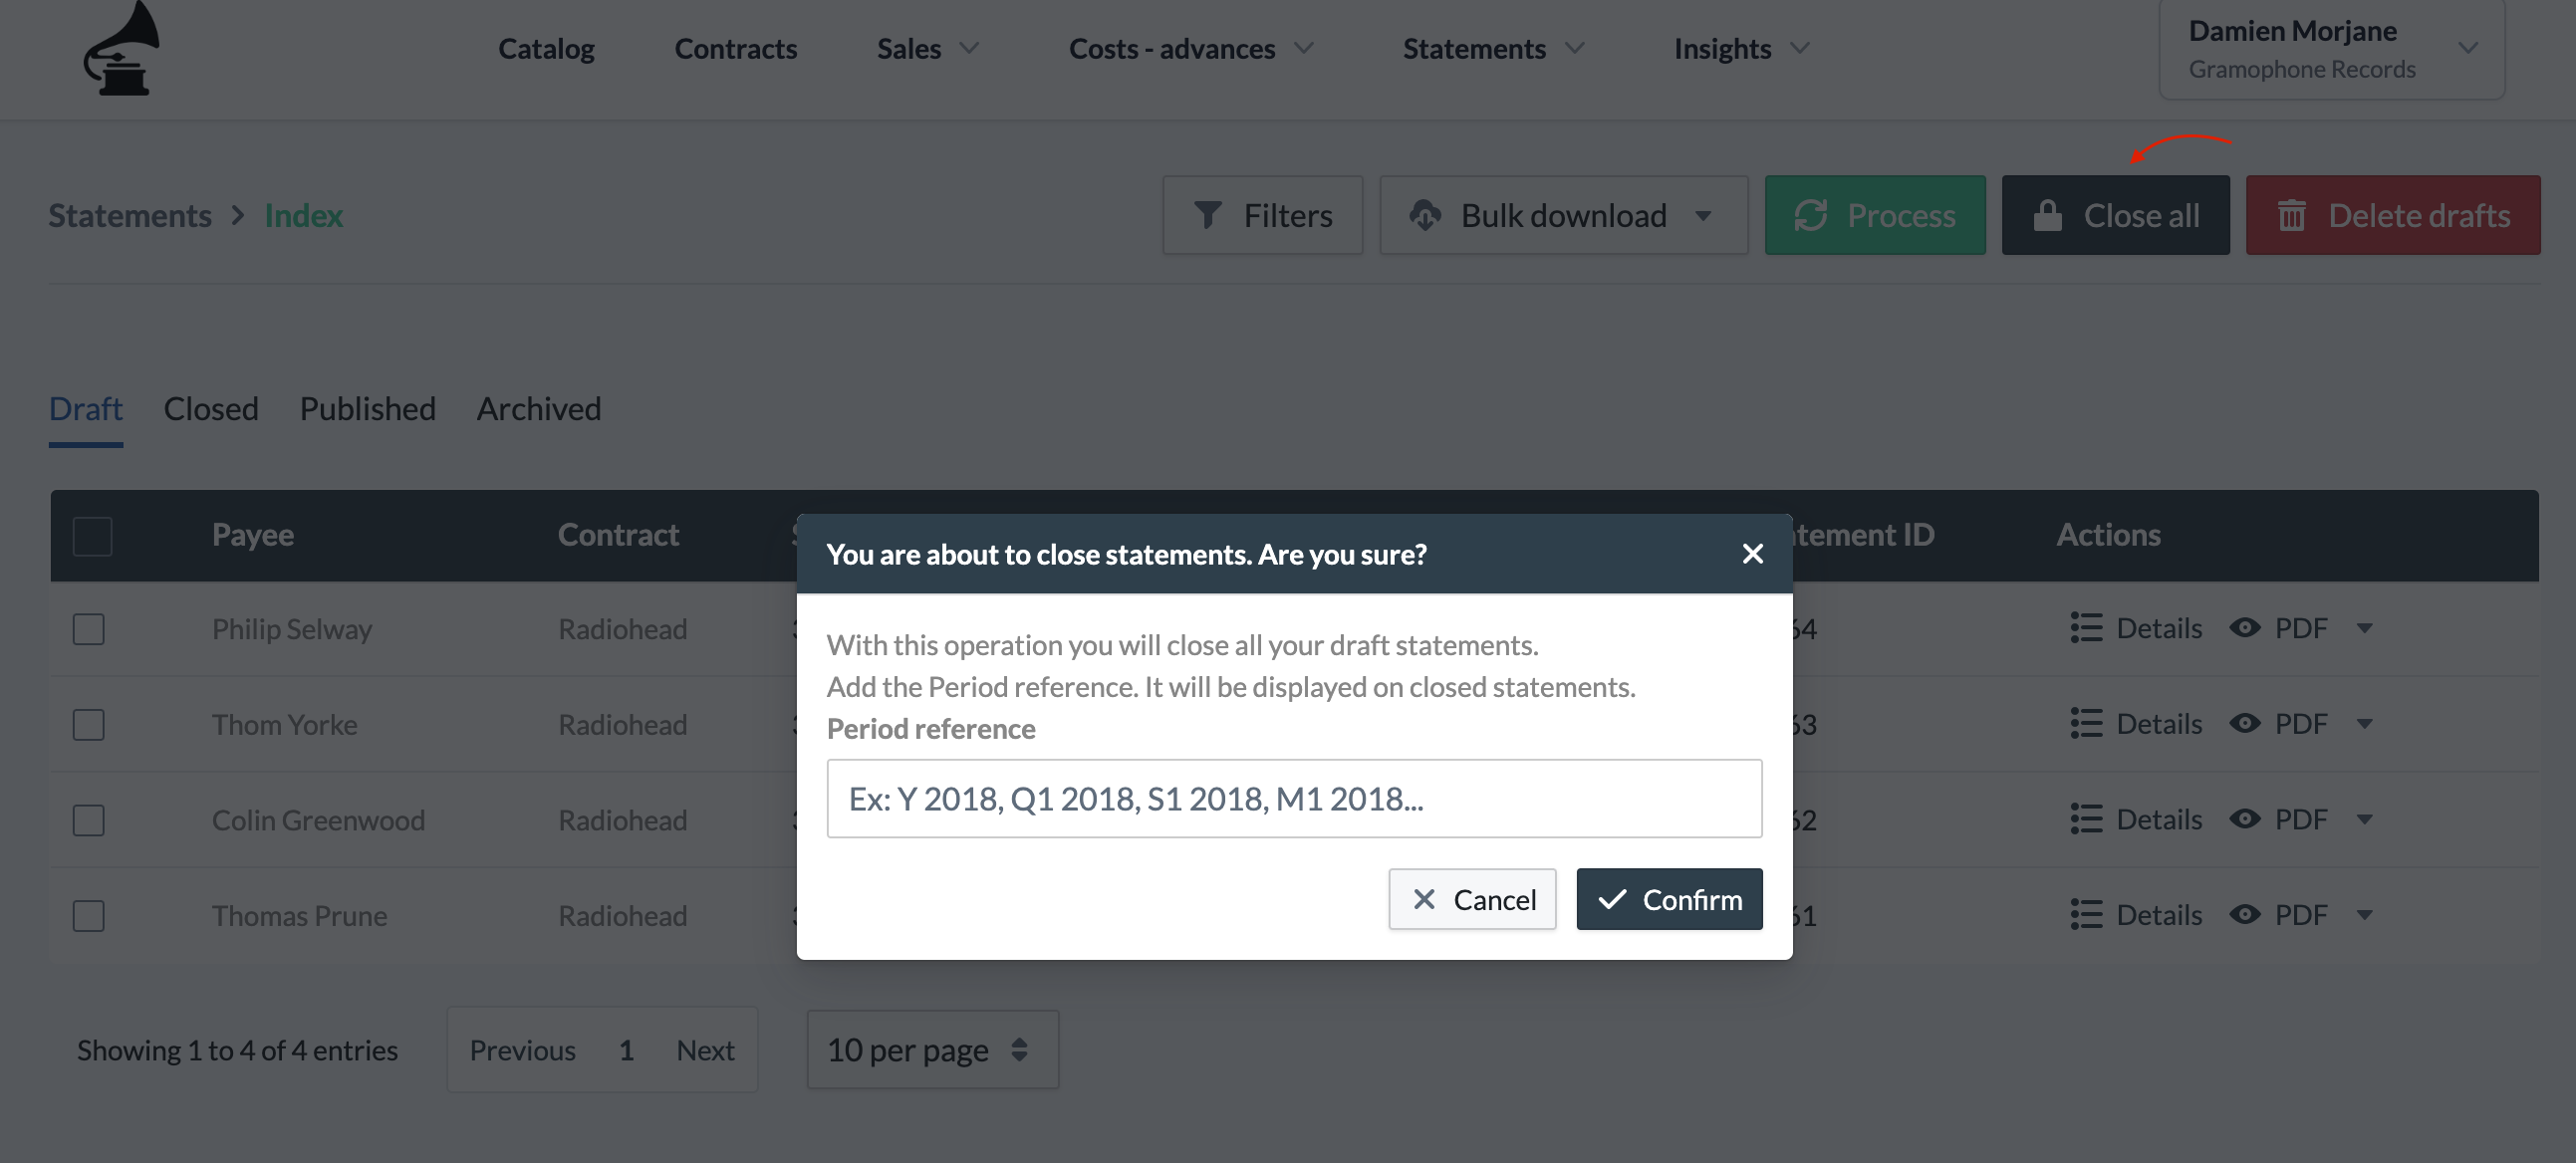
All good? Then it's time to move on to the second phase of your statement's lifecycle. To do so, simply click on the Close all button (or select specific statements and click Close) and specify the relevant statement period. Note that this period will be displayed on your statements.
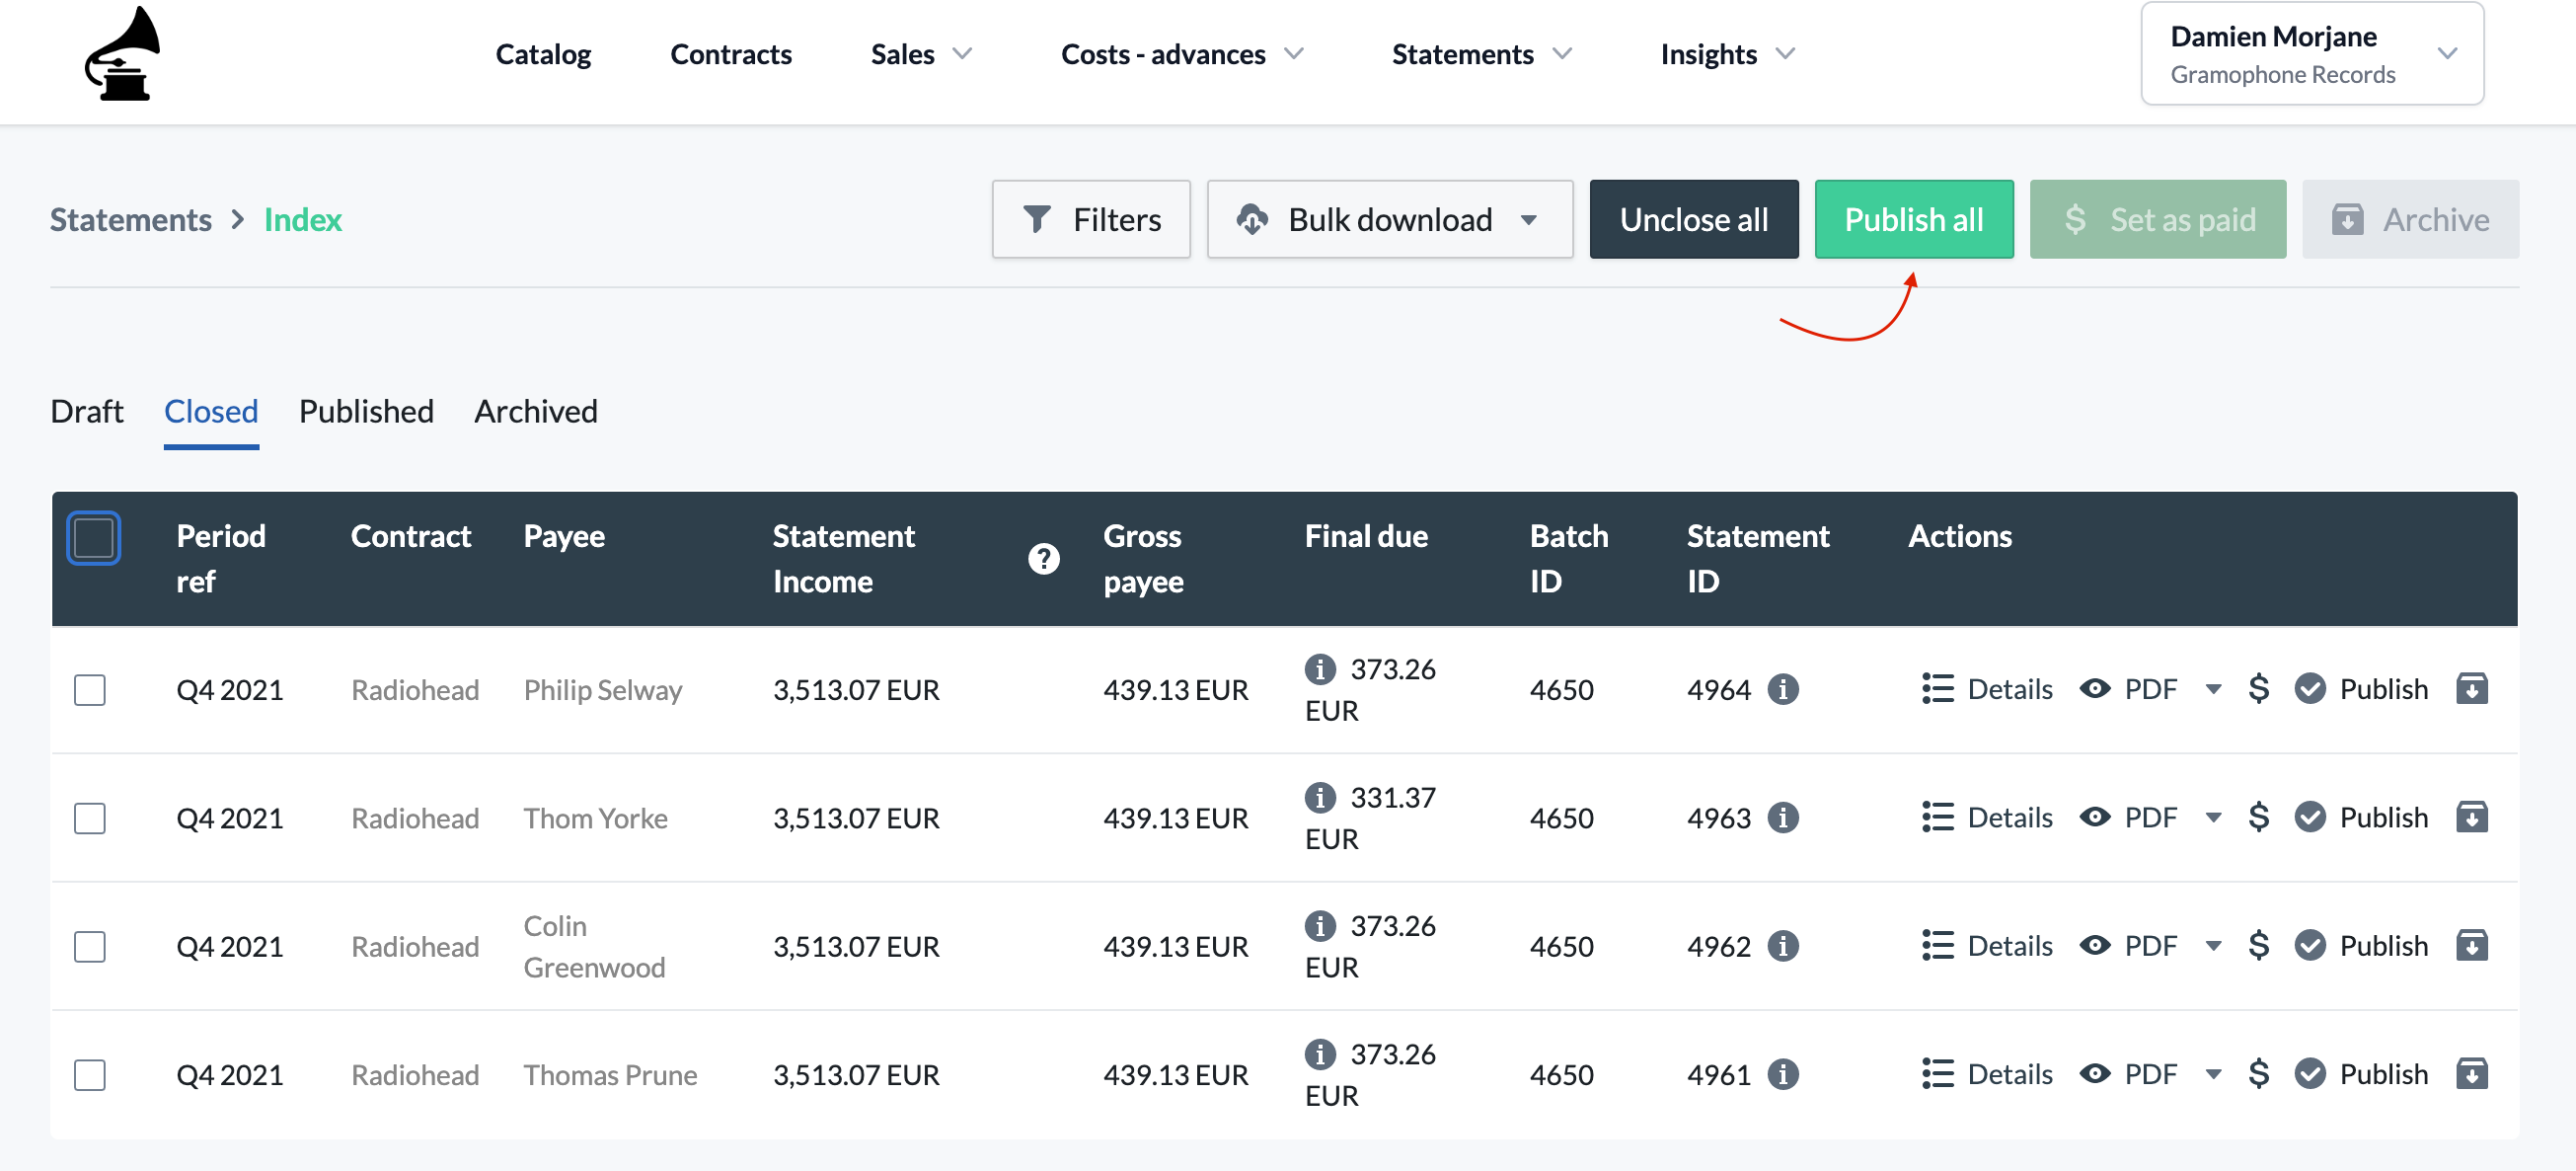
Closed
Once closed, statements are in their final state but are not yet accessible by payees. This intermediary status allows you to make sure that statements won't be updated anymore, but gives you the flexibility to choose when to share them with your payees.
When using the Cross-contract deductions feature, statements for both target and recipient contracts must be closed simultaneously.
Once it's time to send statements to your payees, you can go ahead and publish them by clicking the Publish all button from the Closed statements section (or select specific statements and click Publish).
Published
Once published, statements can be shared with payees by sending a link to the statement PDF by email, or accessed directly via the Payee Portal. You can find more information in this section of the article.
The Published status is the final stage in a statement's lifecycle. This section acts as a dashboard where you can access all the statements you've processed, view and update invoicing and payment statuses, and export statements in different formats.
Archived
In specific cases, statements need to be archived.
When archived, statements are no longer accessible by payees on their portal. Archiving allows you to set aside statements that may be incorrect, for instance, without having to delete them, allowing you to keep a trail.
Note that the Archived status is not the final statement status. Statements should only be archived in specific cases.
3. Share Statements with Payees
Now that you've published your statements, it's time to share them with your payees.
Notify Payees
To send statements to payees, simply click the Notify Payees button in the Published section of the Statements page. An email with a link to the statement PDF will be emailed directly to all payees.
If you do not wish to notify all payees simultaneously, you can do so gradually by clicking on the small envelope symbol displayed next to each statement.
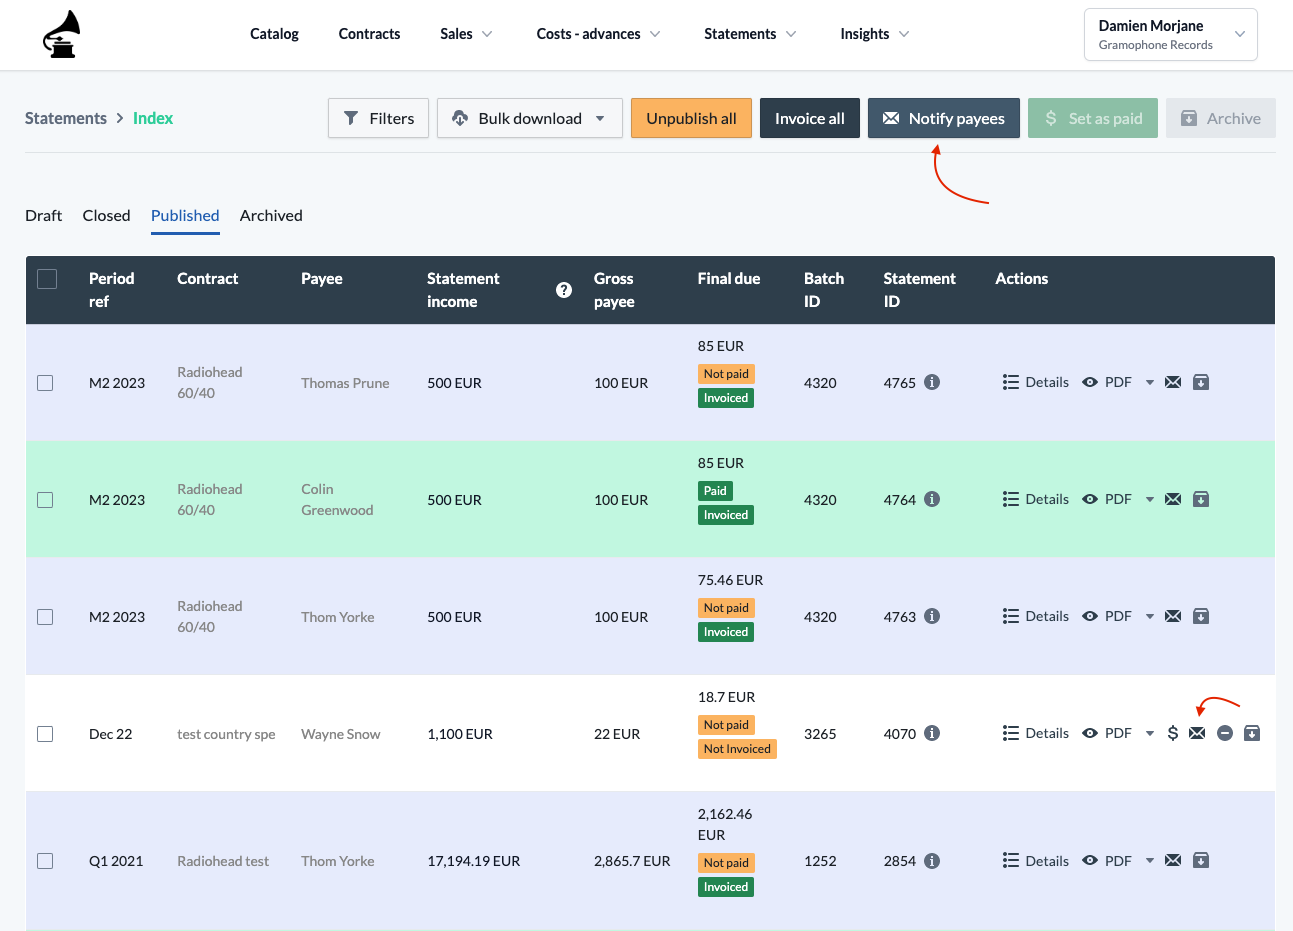
The Notify Payees button only triggers emails for published statements that haven't been notified to payees yet. If you wish to re-send a notification, click on the small envelope symbol.
Give Access to the Payee Portal
To allow your payees to access their data, download their statements (PDF, XLS and CSV) and follow payment statuses, give them access to the Payee Portal. For more information about the Payee Portal, refer to this article.
4. Invoicing and Payment
Now that statements have been shared with payees, the next logical step is for them to send you an invoice, and for you to pay them. This process differs depending on whether you are using our Self-billing and Payment Automation feature.
Manage Invoicing and Payments in eddy.app
Our Self-billing and Payment Automation feature allows you to fully automate the invoicing and payment process. Our system automatically generates invoices on behalf of your payees, and payments are initiated in bulk thanks to our Wise integration. Invoice and payment statuses are updated automatically as soon as payments have been processed.
For more information on the feature, refer to this detailed guide.
Manage Invoicing and Payments Outside of eddy.app
If you are not using Self-billing and Payment Automation, invoicing and payment should be handled outside of the app.
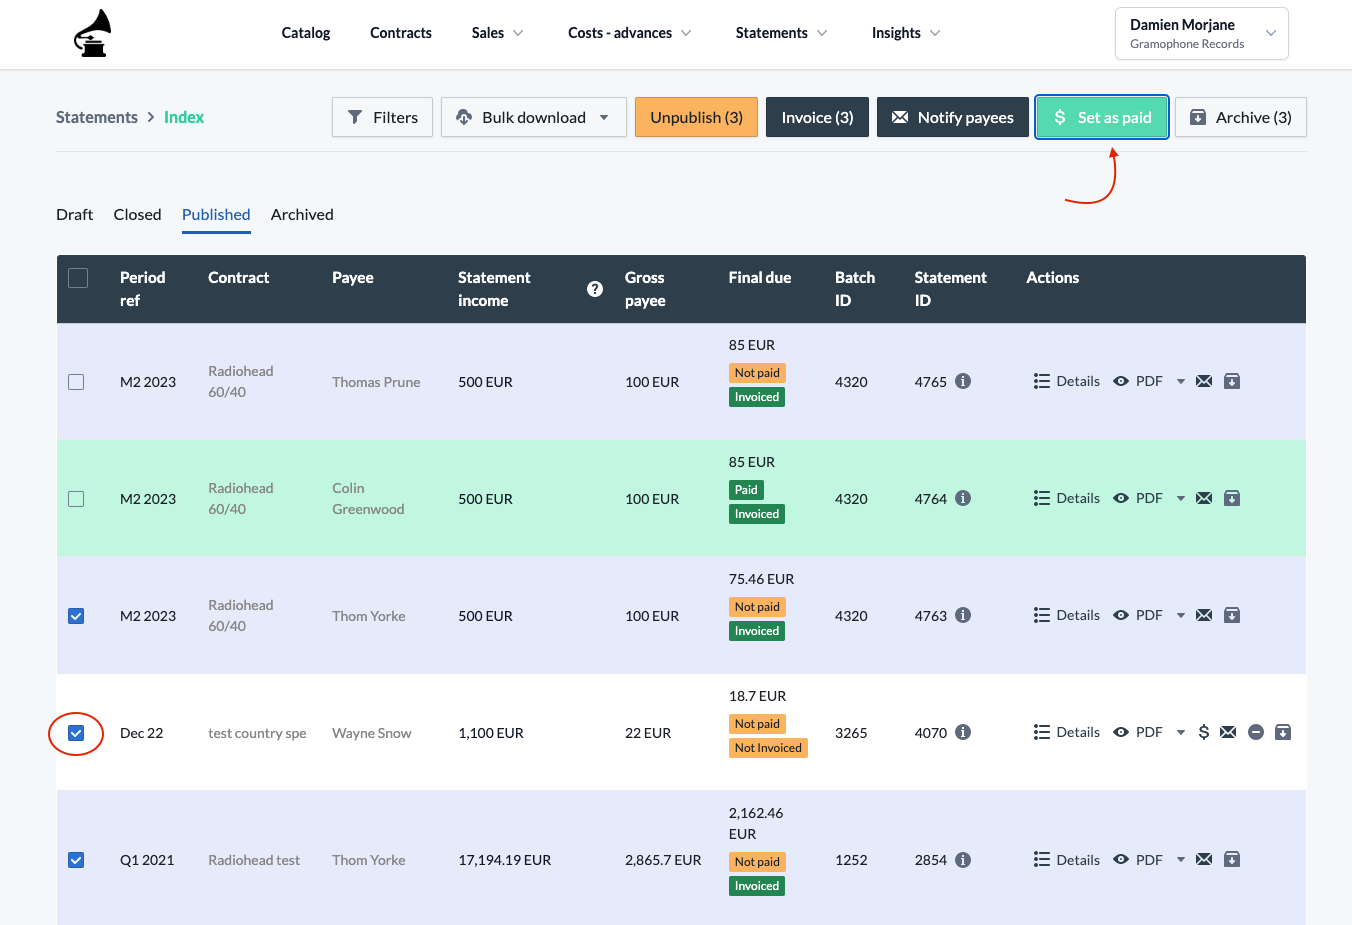
You can, however, easily manage payment statuses by setting statements as paid. Simply select the statements that you've paid and click the Set as paid button. Specify the payment date and confirm.
Statement payment statuses are also reflected on the Payee Portal.
Advanced Features
You will find relevant documentation on the following topics in the Advanced Features - Statements folder
- Personalize PDF statements
- Breakdown of a statement
- Deleting a statement
- Statement export
You're all set! 🎉 Now, on to the next step: Invoicing and Payment. This will help you set up self-billing to automate the invoicing and payment process.