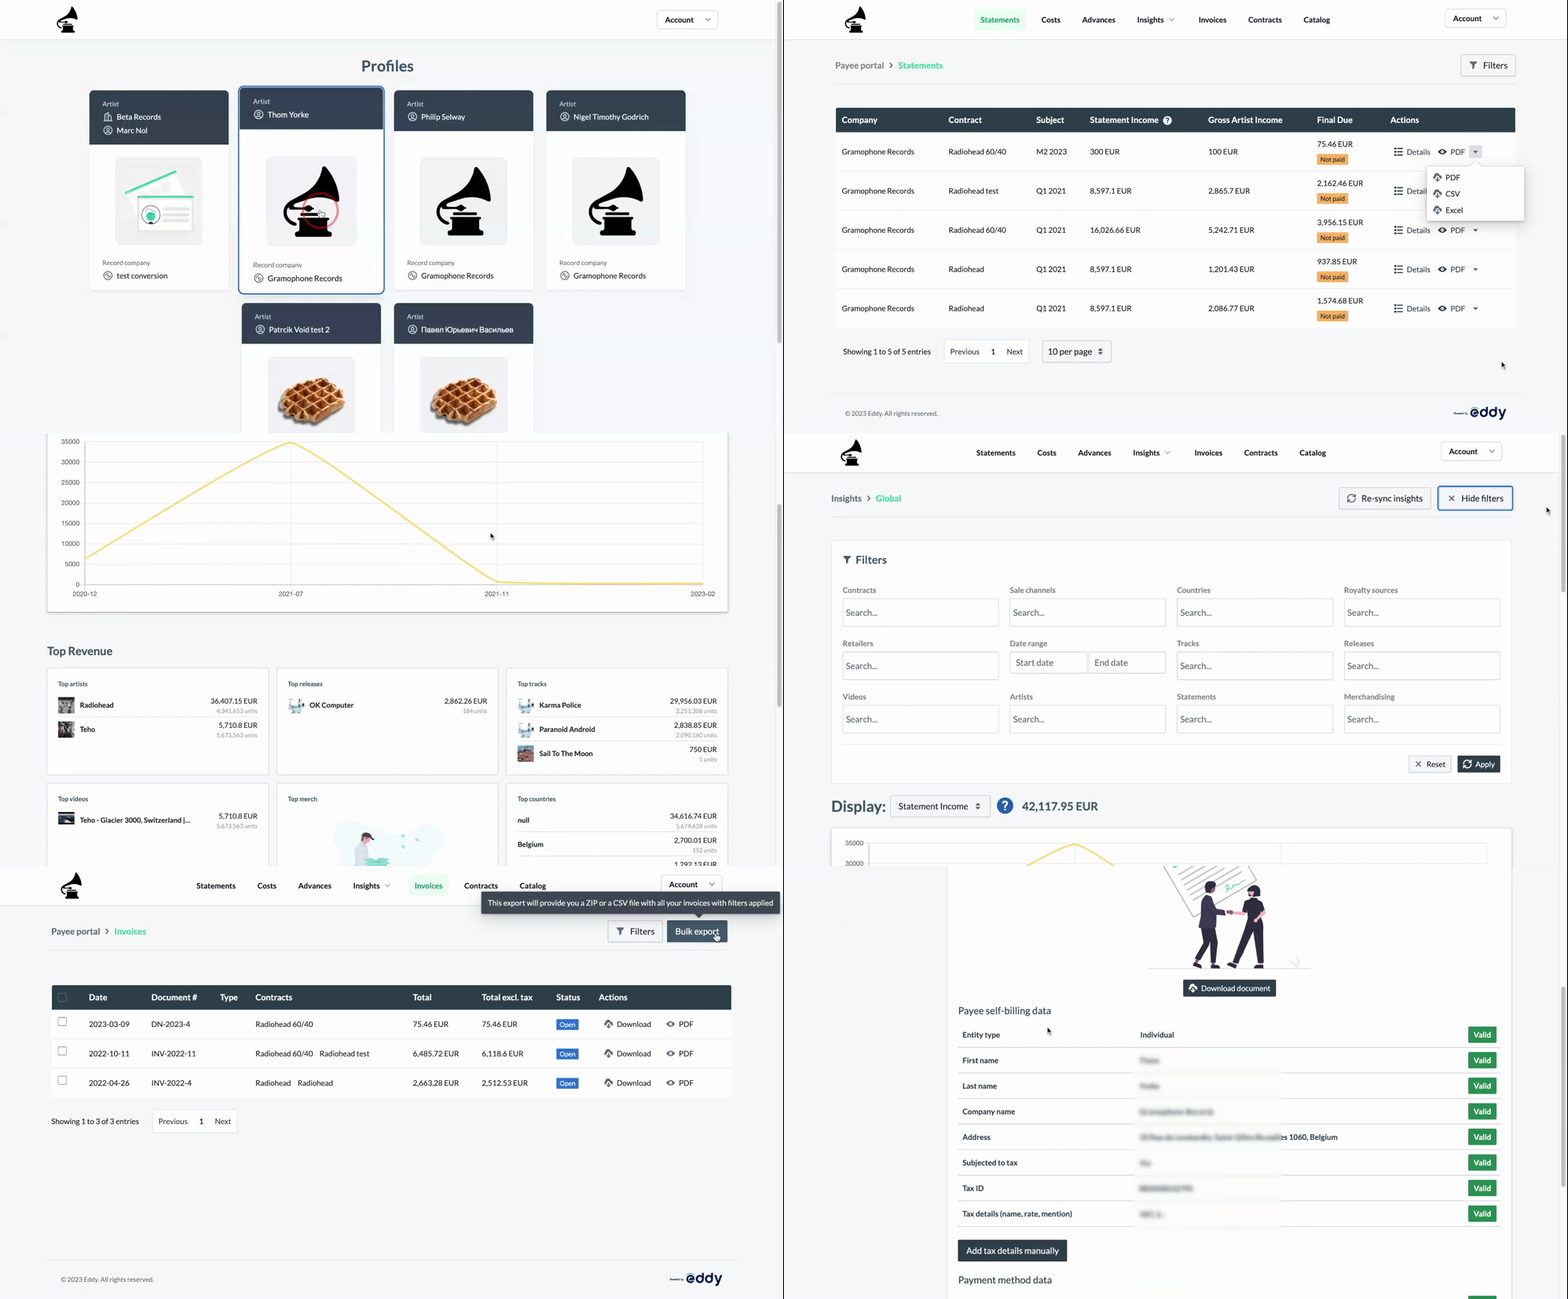
You've successfully completed all necessary steps to generate your statements. Now, let's guide you through inviting your payees to the Payee Portal, where they can access their revenue insights, statements, catalog, and more.
Each payee you create in eddy.app gets access to their own Payee Portal. This offers them a detailed, transparent view of their revenue and increases their autonomy. Coupled with our Self-Billing feature, the Payee Portal simplifies communication with your payees and moves you closer to automating your royalty accounting process.
How to Invite Payees to the Portal
User roles
Assign specific roles to each payee to determine their access level in the Payee Portal. The table below outlines the different roles and their permissions. Note that one user can have multiple roles for different payees.
| User role | Authorize self-billing | Edit payee details | Edit payee users | Access to payee portal |
|---|---|---|---|---|
| Primary | YES | YES | YES | FULL |
| Edit | NO | YES | YES (except primary users) | FULL |
| Consult | NO | NO | NO | LIMITED 1 |
| Consult restricted | NO | NO | NO | LIMITED 2 |
- LIMITED 1 Consult users can access all pages except the payee details, self-billing, and payee user list pages.
- LIMITED 2 Consult Restricted users can access all pages except the payee's details, self-billing, payee user list, invoice, and contract pages.
Only the Primary user can authorize self-billing from the Payee Portal.
Trigger Invitation
To give payees access to their portal:
- Navigate to Statements > Payees, click Users, then Invite New User.

- Alternatively, invite all payees simultaneously one or more payees using the Invite All button. An email with access instructions will be automatically sent to each payee.
It's best to invite payees to the portal after publishing at least one statement batch, as payee data and insights populate the portal only after publishing statements.
Payee Portal Activation
Payees must follow these steps to activate their account:
- Check their inbox for the invitation email (including spam folders).
- Open the email and click on the Log in to Payee Portal button.
- Sign-up using the invitation email.
Self-Billing and Payee Portal Invitation
When self-billing is enabled, payees receive a specific invitation to the Payee Portal, detailing the necessary steps: account creation, billing details entry, payment method selection, and self-billing authorization. Only the primary user can authorize self-billing.
What Data Can Payees Access in Their Portal?
Payees can access only their associated data. They can view but not modify most information.

Available menus in the Payee Portal include:
- Published statements (downloadable in PDF, CSV, XLS formats)
- Costs and advances with recoupment tracking
- Global insights
- Invoices
- Contracts
- Catalog
- Settings (for general and self-billing info updates)
Refer to the user roles section for access details per role.
How to Remove Access to the Portal
Change in a payee's email? Remove their Payee Portal access and re-invite them with updated details.
Payees can be removed from the Payee Portal at any time. Head to the payees page, click on the user icon, then remove the relevant user.
