This article outlines 9 essential steps for creating royalty statements and sharing them with your payees using eddy.app.
Expedite your migration with our expert services. Our team offers a bespoke data migration approach, tailored to your specific needs for a seamless transition to our platform. Experience a hassle-free shift with your content, contracts, and payees expertly set up. For a customized Migration Plan and support, contact us at support@eddy.app.
The Migration Process
Follow these sequential steps to create your first statement efficiently and accurately. Each step builds upon the previous, guiding you smoothly through the process.
1. Set up your account & configure your Settings
Start by entering your company details, tax deductions, geozones, royalty sources, and more. The Settings section aggregates various parameters that affect your initial setup and ongoing use of eddy.app. You can adjust most settings later if needed.
2. Add Your Catalog
Importing your catalog, including digital, physical, YouTube content, and merch, is a crucial first step. It ensures your content metadata is correctly stored in your account for linking to contracts and matching with sales.
Leverage our ✨ Auto-Correction feature to automate digital repertoire import from leading streaming services by uploading your distributor sales reports, available for specified royalty sources.
3. Configure Your Contracts
Properly setting up contracts in eddy.app is vital, as they determine how royalties are calculated. Ensure your contracts accurately reflect the deal terms for precise royalty computations.
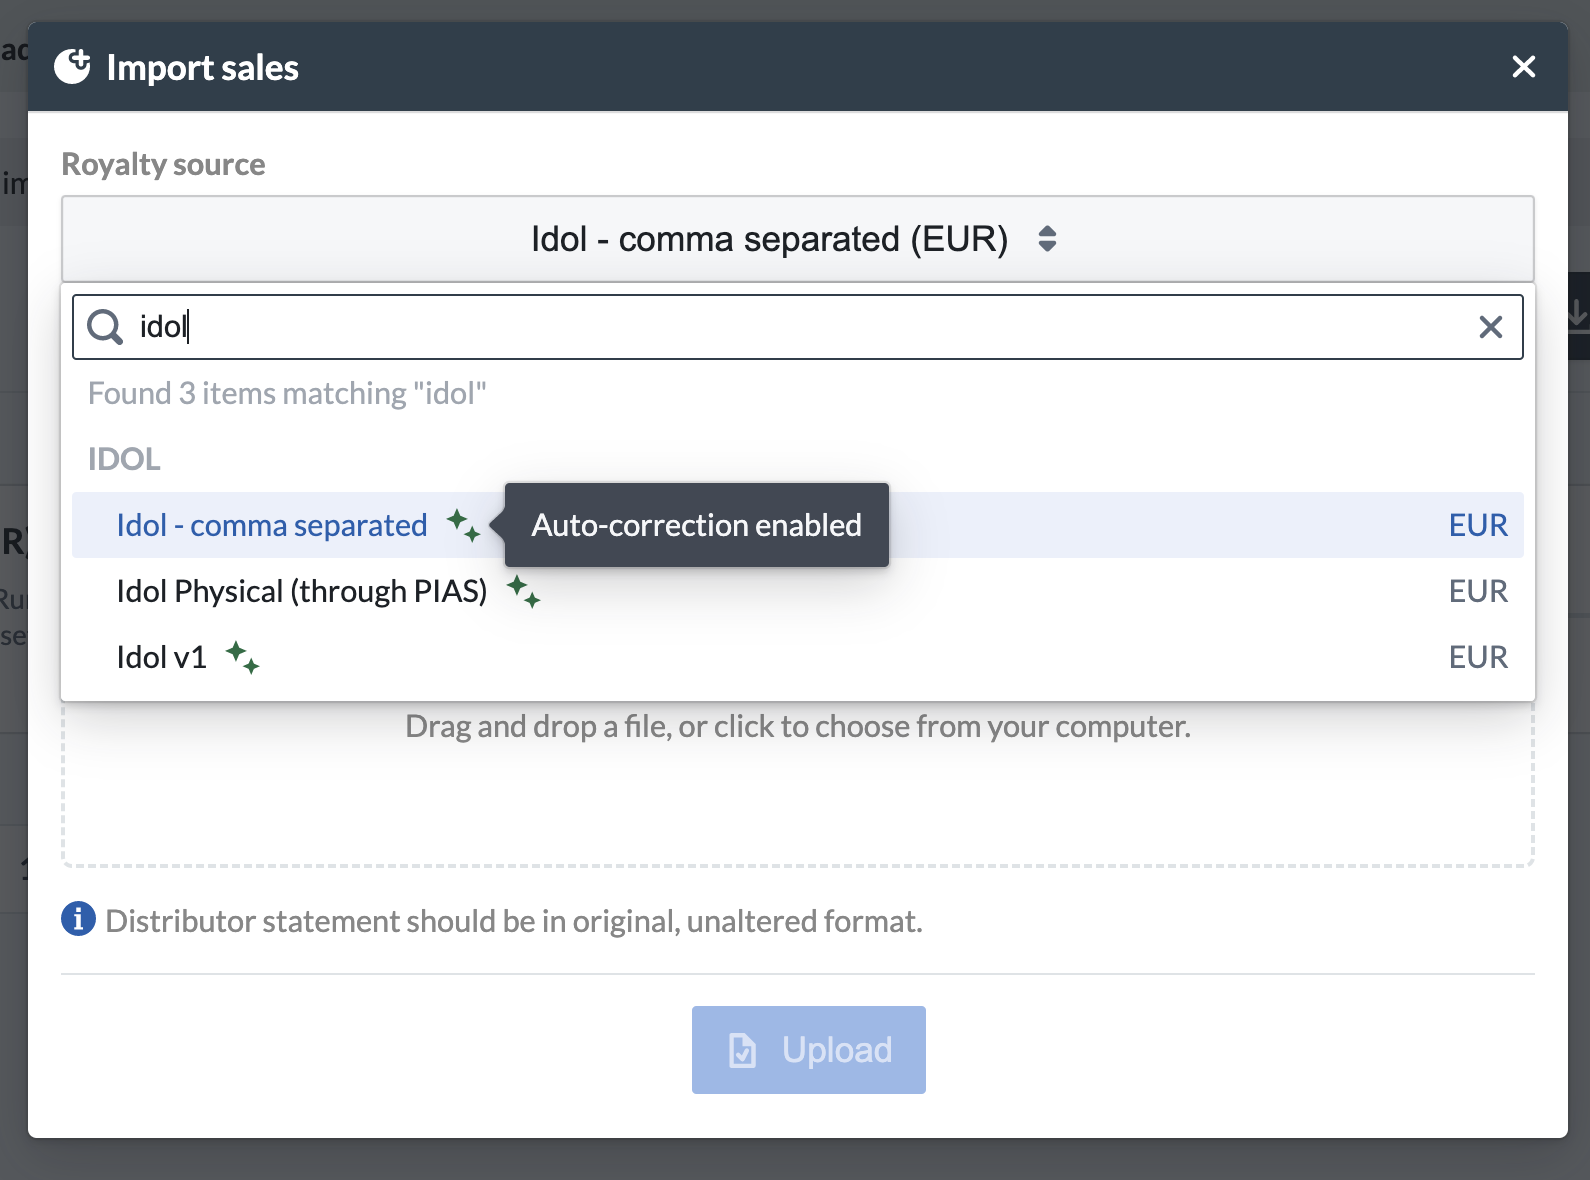
4. Import Your Sales Reports
Upload your sales reports from various sources. eddy.app automatically processes this data, matching it with your catalog or importing missing digital repertoire.
eddy.app is designed to ingest sales reports from a multitude of sources out-of-the-box, without any manual input required. When you import a file, the system locates and extracts data from the report and matches it to the content available in your Catalog, or auto-imports missing digital repertoire.
5. Add Your Costs and Advances
Enter all recoupable costs and advances, linking them to contracts and/or payees. These will be recouped from imported sales based on the associated content and payee details.
When linking a cost to a contract, or an advance to a specific payee, eddy.app will recoup it from imported sales according to different recoupment behaviors (100% recoupable artist costs, shared costs, etc.) once you process a statement batch.
6. Generate Your Statements
Now, generate your first statement batch.
Successfully imported sales will be processed into statements only when they have been matched to a published contract and to the specified period upon creating the statement batch. Note that the period taken into account when processing statements is the reporting period.
Once your statements have been processed, publish them to make them available to your payees via their eddy.app Payee Portal, or send them the PDF link by email using the Notify payees button.
7. Invoicing and Payment
Automate invoicing and payments with our Self-billing and Payment Automation feature (available on specific plans). This feature allows for automatic invoice generation and bulk payouts, with manual management options as well.
Thanks to our Wise integration, you can trigger bulk payments without leaving the app, fully automating the billing and payment process.
8. Give Payees Access to Their Portal
Invite payees to their eddy.app Payee Portal for access to their data and analytics. Though optional, portal access greatly enhances the payee experience.
9. Insights
Utilize Global and Business Insights for a comprehensive overview of your revenue, offering detailed analytics filtered by various data points.