Unlock the Power of Automated Payouts with eddy's Self-Billing and Mass Payment features
Effortlessly manage and streamline your royalty payouts with eddy's robust self-billing and payment automation feature. This powerful tool eliminates the hassle of manual invoicing by generating invoices for your payees and enabling bulk payments directly through our platform using Wise. With Eddy's self-billing system, you can ensure a smooth, transparent, and fast payout process.
In this guide, you will learn how to set up self-billing, including configuring essential settings, activating the feature, and inviting your payees to validate their billing and payment information. Follow these steps to take full advantage of our automated payout capabilities and enhance your royalty accounting processes.
How to Configure Self-Billing
Step 1: Configure Invoicing and Payout Methods
A. Self-Billing Settings
Access Self-Billing Settings
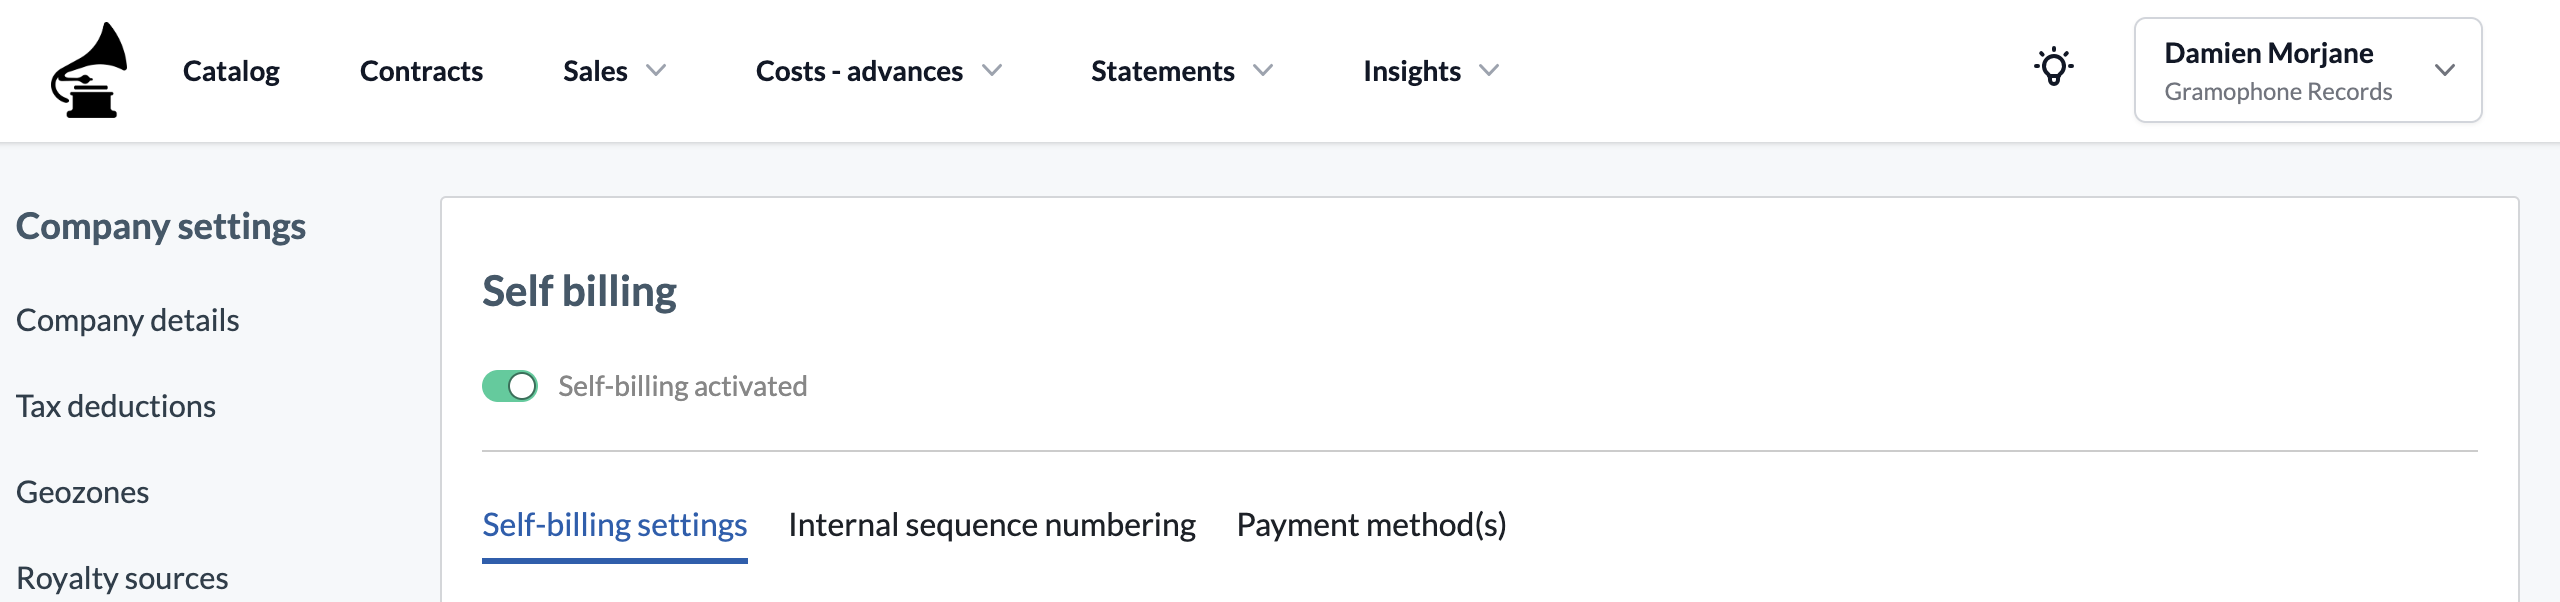
Go to
Settings>Self-billing.Threshold
Set a minimum invoice amount. Invoices are generated when payees reach this amount across all unpaid statements. Each payee receives a unique invoice for a clear balance view.
Note: Costs are not mixed across statements and recoupment does not cross-collateralize.
Self-Billing Mode
Choose between automatic invoice generation when publishing statements or manual creation using the 'Invoice all' button.
Automatic: Invoices are created upon statement publication.
Manual: Invoices must be triggered manually from the published statement page.
Note: Invoices are generated only if the threshold is met and the payee has authorized self-billing.
Payee Exclusion
Optionally exclude certain payees from automatic invoice generation.
Finalize Invoice
Invoices initially appear as drafts and auto-finalize after 1 hour. Manual finalization is also possible. Enable a setting to allow payees to finalize invoices through their portal.
Debit Notes
Enable this option to generate debit notes. Assign a default document type and specify alternatives for certain payees if necessary.
B. Internal Sequence Numbering
Customize your invoice numbering with placeholders and personalized invoice numbering stem.
Set the next invoice number and decide if it resets annually.
C. Payout Methods
Self-Managed
Generate invoices within the app, but manage payments externally. Note that no payment details will be collected when this payout method is selected. Always activate this option as a fallback, particularly for territories where other payout methods are not supported.
Wise (Recommended)
Use Wise for bulk payments and real-time status updates that sync with your statements and invoices.
Manual Bank Transfer
Enter your bank details in the app and process payments manually through your banking app. If your bank requires a BIC/SWIFT code, you can make this field mandatory in the settings (click the cog icon and remember to save your changes).
.png)
PayPal
Create Mass Payouts files in the app and import them into PayPal.
Set-up Wise
To set-up Wise as your payout method, you’ll need to first set-up API keys in the integration page of your settings. Follow the instructions below to configure the Wise integration. Only the admin/owner of the wise account can do this set-up and you can only set-up the integration with Business accounts.
Login to Wise:
Only the admin or owner can create API keys. Log into your wise account.
Create API Token within Wise
Navigate to the
Settingsmenu and selectIntegration and ToolsGo to the
API Tokenssection and click Add New Token.Enter a name for the token, set the permissions to full access, and create the token.
Copy the API key by revealing it.
.png "image(67).png")
Configure Eddy:
In eddy.app, go to the
Settings > Integrations.Click Enable the Wise integration and start pasting the copied API key.
Select the fee bearer (either the sender or the recipient).
Click "Confirm"
Select the relevant profile ID, then click "Confirm" again.
Download and Upload Public Key:
In the Wise integration settings, download the Wise public key and save it.
Go back to Wise, navigate to "Manage Public Keys," and upload the downloaded key file from eddy.app.
Use eddy.app as the name for the new key.
.png "image(68).png")
Activate Wise in eddy:
Return to eddy.app and ensure the Wise payout method is activated in the payout method page of your Self-Billing Settings.
🔒 API Key and Public Key Sensitivity
Your API keys and public key are sensitive pieces of information that should never be shared. If you suspect any data breach or unauthorized access, it is crucial to take immediate action.
🚨 Steps to Take in Case of a Data Breach:
Delete Compromised Keys: Immediately delete the compromised API keys within Wise.
Create New Keys: Generate new API keys as soon as possible.
Update Eddy Integration: Enter the new API keys in Eddy by first disabling the current integration and then enabling it again with the new keys.
🔑 Security Assurance
Please note that our support team will never request access to your API keys or public key. Always handle these keys with care and vigilance to maintain the security and integrity of your payment processes.
Step 2: Activate Self-Billing
Activate self-billing to enable the self-billing feature for your payees, allowing them to enter their bank details and validate their billing information. This activation also ensures that invoice payment statuses are inherited from the statements. Before enabling self-billing, make sure at least one payout method is activated.
Step 3: Payee Data Validation
After activating self-billing and configuring the settings, invite payees to validate their data. Payees will receive an email and see a call-out prompt to update their billing and payment details. Invoices will be generated for any unpaid statements.
A. Invite Payees to the Payee Portal
Navigate to
Statements>Payees.Click the
Send self-billing setup to allbutton. You can also select specific payees to send invitations to.Payees will receive an email to log in to their portal and validate their billing and payment details.
Refer to the article on customizing outbound emails for further instructions.

B. Data Validation by Payees
Payees enter their address, tax ID if relevant, and payment details directly in the payee portal. They can update these details, which sync with payouts at any time.
C. Authorize Self-Billing
Primary payee users must authorize self-billing within the payee portal for invoices to be generated.
D. Process Complete!
Check for the 'Complete' status on the Payees page to confirm readiness for invoice and payments.
For further details, refer to the following links:
eddy.app is an independent platform and integrations with third-party services do not imply affiliation, endorsement, or official partnership.